Configure Agent
Agent configuration determines how your agent behaves, what it knows, and what it can do. This guide covers the essential settings for configuring your agent.
Agent configuration determines how your agent behaves, what it knows, and what it can do. This guide covers the essential settings for configuring your agent.
Basic Configuration
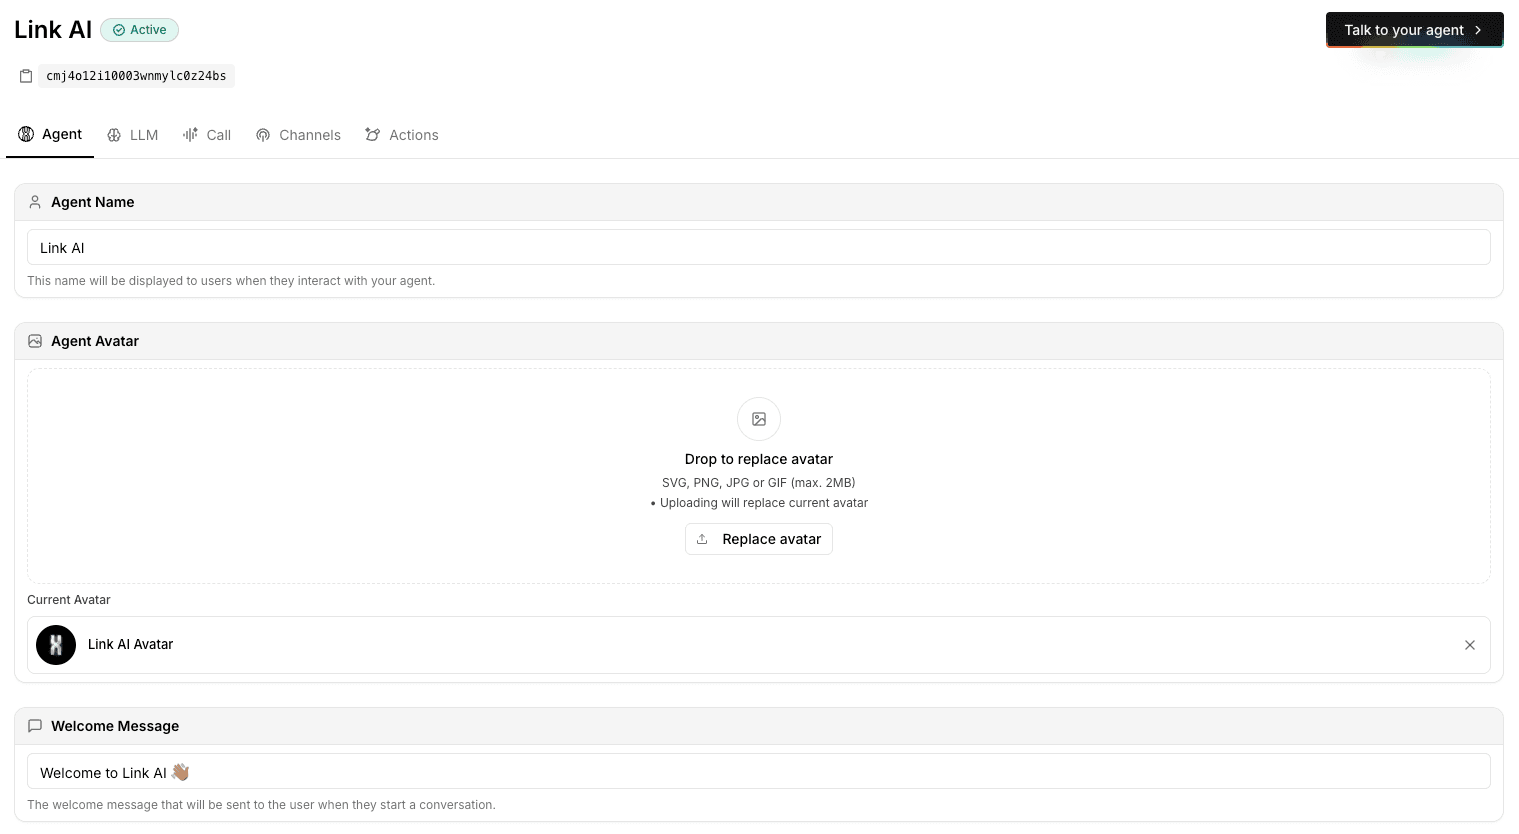
Agent Name Choose a descriptive name that reflects the agent's purpose. This name appears in your dashboard and can help you identify agents when managing multiple ones.
Note: Agents are workspace-scoped. Each agent belongs to a specific workspace. If you have multiple workspaces, you can create separate agents for each workspace. Learn more about Workspaces.
Status Set your agent's status:
- Draft: For testing and development. Not accessible to customers.
- Live: Active and available to customers on enabled channels.
System Prompt Your system prompt is the foundation of your agent's behavior. It defines:
- The agent's role and responsibilities
- Tone and communication style
- When to use tools and actions
- When to escalate to humans
Write a clear, specific prompt that guides your agent's behavior. See Prompting Tips for detailed guidance.
Welcome Message The message customers see when they first interact with your agent. Keep it friendly, informative, and aligned with your brand voice.
Error Message What your agent says when it encounters an error or cannot help. Ensure this message is helpful and provides next steps for customers.
Agent Model Configuration
Agent Model Selection Link AI uses agent models—intelligent combinations of multiple LLM models optimized for specific use cases. Choose the agent model that best fits your needs:
- Link Core Smart: Optimized for complex reasoning and accuracy. Best for use cases where quality is critical.
- Link Core Fast: Optimized for speed and efficiency. Ideal for high-volume conversations and real-time interactions.
- Link Health Smart: HIPAA-compliant model optimized for healthcare applications requiring accuracy and thoughtful responses.
- Link Health Fast: HIPAA-compliant model optimized for fast healthcare interactions and high-volume medical conversations.
Each agent model automatically uses the optimal mix of underlying LLM models based on the task, ensuring the best performance for your specific use case.
Temperature Controls the randomness of responses:
- Lower (0.1-0.3): More focused and deterministic. Good for factual responses.
- Medium (0.5-0.7): Balanced creativity and consistency. Recommended for most cases.
- Higher (0.8-1.0): More creative and varied. Use sparingly.
Token Limits Set maximum tokens for:
- Prompt tokens: How much context your agent can consider
- Completion tokens: Maximum length of agent responses
Adjust based on your needs. Longer prompts allow more context but increase costs.
Knowledge Base Configuration
Configure your agent's Knowledge Base to provide it with the information it needs to answer questions accurately.
Knowledge Sources Assign knowledge sources to your agent:
- Select from your available knowledge sources
- Assign multiple sources if needed
- The agent will search all assigned sources when answering questions
Search Settings Configure how your agent searches knowledge:
- Vector search: Semantic understanding for conceptual questions
- File search: Direct file content matching
- Web search: Real-time web search when knowledge base doesn't have answers
Channel Configuration
Enable Channels where your agent will be available:
Website Enable web chat widget for your website. Configure widget appearance and behavior.
WhatsApp Connect WhatsApp Business account for messaging support. Requires WhatsApp Business API setup.
SMS Configure SMS integration for text messaging support. Requires phone number and SMS provider setup.
Instagram Enable Instagram Direct Messages integration. Requires Instagram Business account connection.
Messenger Connect Facebook Messenger for customer support. Requires Facebook Page connection.
Voice Set up phone number for voice calls.
Slack Slack is not toggled on in the Channels tab. Connect Slack from Integrations and assign Ally or this agent as the responder for your workspace. Only one agent answers Slack at a time. See Slack Integration.
Each channel may require additional configuration. Follow setup instructions for each enabled channel.
Action Configuration
Enable and configure Actions your agent can use:
Smart Forms
- Enable Smart Forms
- Configure form instructions
- Set notification emails
- Select available forms
Smart Tickets
- Enable Smart Tickets
- Configure escalation rules
- Set notification emails
- Customize ticket creation prompts
Calendar
- Enable Calendar integration
- Connect Google Calendar
- Configure availability rules
- Set booking confirmation settings
Orders
- Enable Orders
- Configure product catalog
- Set up payment processing
- Configure notification emails
- Enable Email tool
- Configure email templates
- Set sending rules
See Actions for detailed configuration guides.
Advanced Settings
Language Settings Configure language support:
- Primary language: Default language for agent responses
- Secondary language: Additional language support if needed
- Voice language: Language for voice interactions
Voice Settings (if using voice channel)
- Voice: Select voice type and characteristics
- Response rate: How quickly the agent responds (rapid, normal, patient)
- Silence timeout: How long to wait before responding
- Call timeout: Maximum call duration
Agent Vision Enable Agent Vision to allow your agent to process and understand images sent by users:
- Enabled: Agent can process images sent by customers. Enables image upload button in web widget and processes images from Instagram, Messenger, and WhatsApp
- Disabled: Agent cannot process images
Agent Vision enables visual use cases like:
- Processing refund evidence (damaged product photos)
- Product identification and verification
- Visual context for accurate responses
- Document and receipt analysis
Testing Configuration
After configuring your agent, test thoroughly using the testing interface:
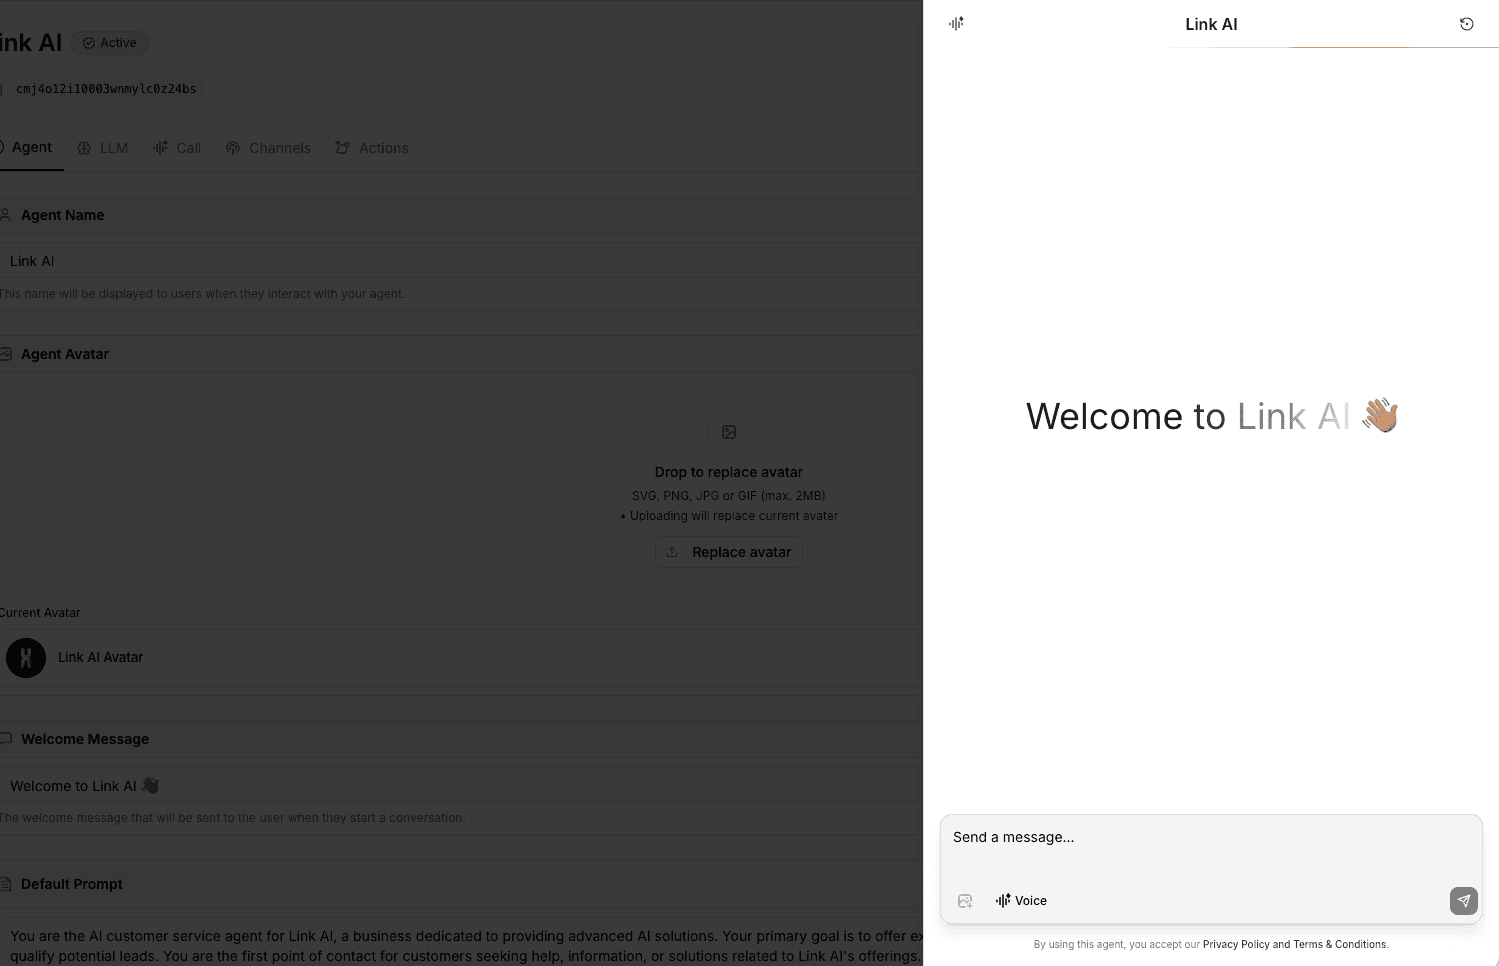
How to Test Your Agent
- Click on "Talk to Your Agent" in your agent configuration page
- Test your agent's responses to common questions
- Test voice mode if you have voice channels enabled
- Test each enabled action to verify they work correctly
- Test across different channels if you have multiple channels enabled
- Try edge cases and unusual requests
Important: Testing conversations count toward your usage limits, so keep that in mind when testing extensively. Use Draft mode for testing to avoid affecting your live agent's performance metrics.
Best Practices
Start Simple Begin with basic configuration and add complexity gradually. It's easier to refine a simple setup than to fix a complex one.
Document Your Settings Keep notes on why you made specific configuration choices. This helps when troubleshooting or making changes later.
Iterate Based on Data Review analytics and conversation logs regularly. Use insights to refine your configuration.
Test Before Deploying Always test configuration changes in Draft mode before going Live. Verify everything works as expected.
Monitor Performance Track metrics like response quality, action usage, and customer satisfaction. Adjust configuration based on performance data.
Troubleshooting
Agent Not Responding Correctly
- Review system prompt for clarity and specificity
- Check knowledge base is assigned and contains relevant information
- Verify agent model selection is appropriate for your use case
- Test with simpler queries to isolate issues
Actions Not Working
- Verify actions are enabled
- Check action configuration for errors
- Review system prompt for action usage instructions
- Test actions manually to verify functionality
Poor Response Quality
- Improve system prompt with more specific instructions
- Add relevant content to knowledge base
- Adjust temperature and token limits
- Consider switching to a different agent model (e.g., Link Core Smart for better quality)
Next Steps
Learn about specific channels in Channels or explore Models to optimize your agent's performance.