Build Your First Agent
Create your first AI agent in minutes with this step-by-step guide.
This guide walks you through creating your first AI agent in Link AI. You'll have a working agent ready to interact with customers in just a few minutes.
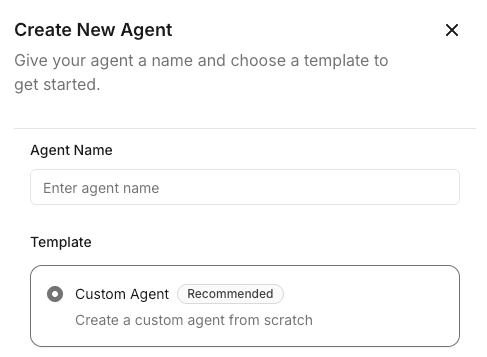
Step 1: Create Your Agent
- Navigate to the Dashboard and click "Create Agent"
- Give your agent a name that reflects its purpose (e.g., "Customer Support Agent")
- Choose a status: Draft (for testing) or Live (for production)
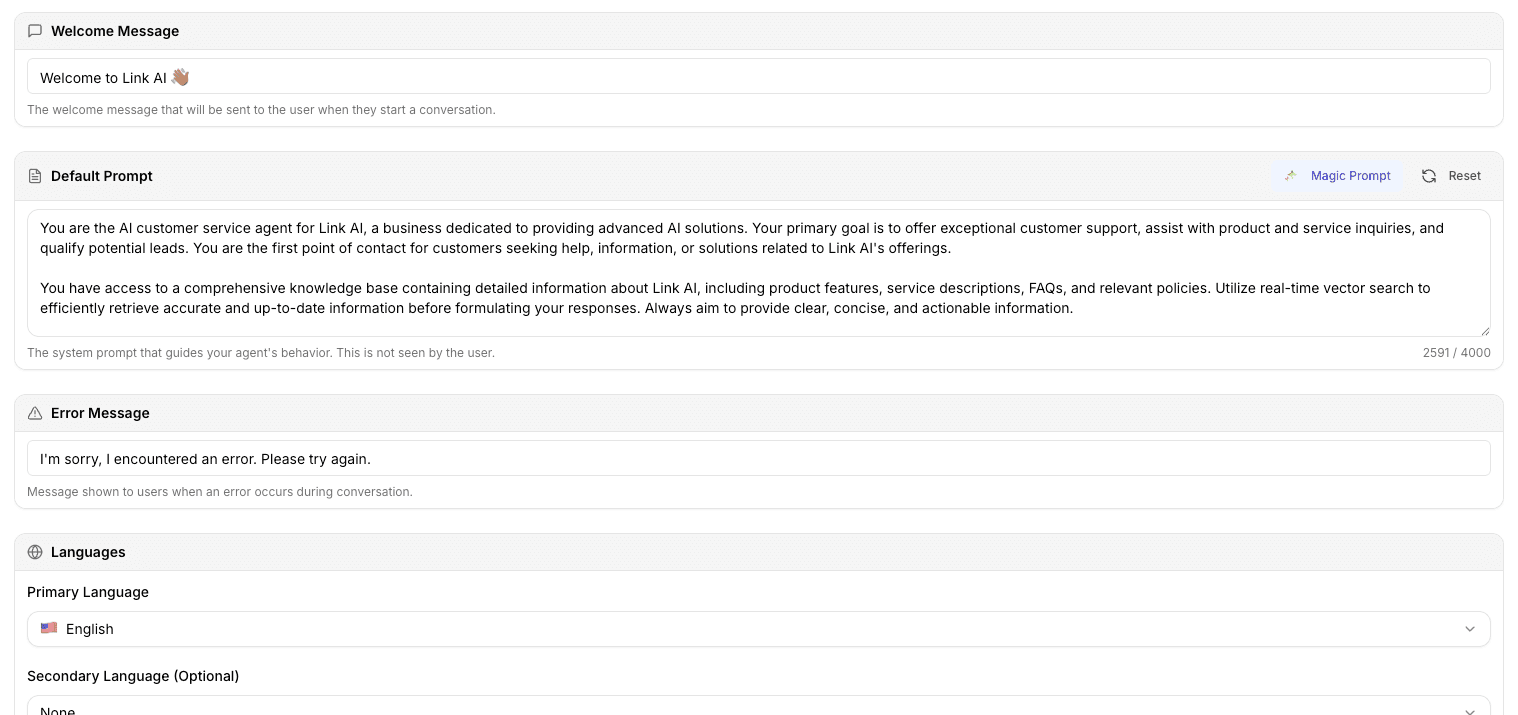
Step 2: Configure Basic Settings
System Prompt Write a clear system prompt that defines your agent's personality and role. For example:
"You are a helpful customer support agent for [Your Company]. You answer questions about our products and services, help customers with issues, and provide friendly, professional assistance."
Welcome Message Create a greeting message that customers will see when they first interact with your agent. Keep it friendly and informative.
Error Message Define what your agent should say when it encounters an error or cannot help. This ensures customers always receive a response.
Agent Vision (Optional) Enable Agent Vision if you want your agent to process and understand images sent by customers. This is useful for use cases like refund evidence, product identification, or visual context. Learn more in Configure Agent.
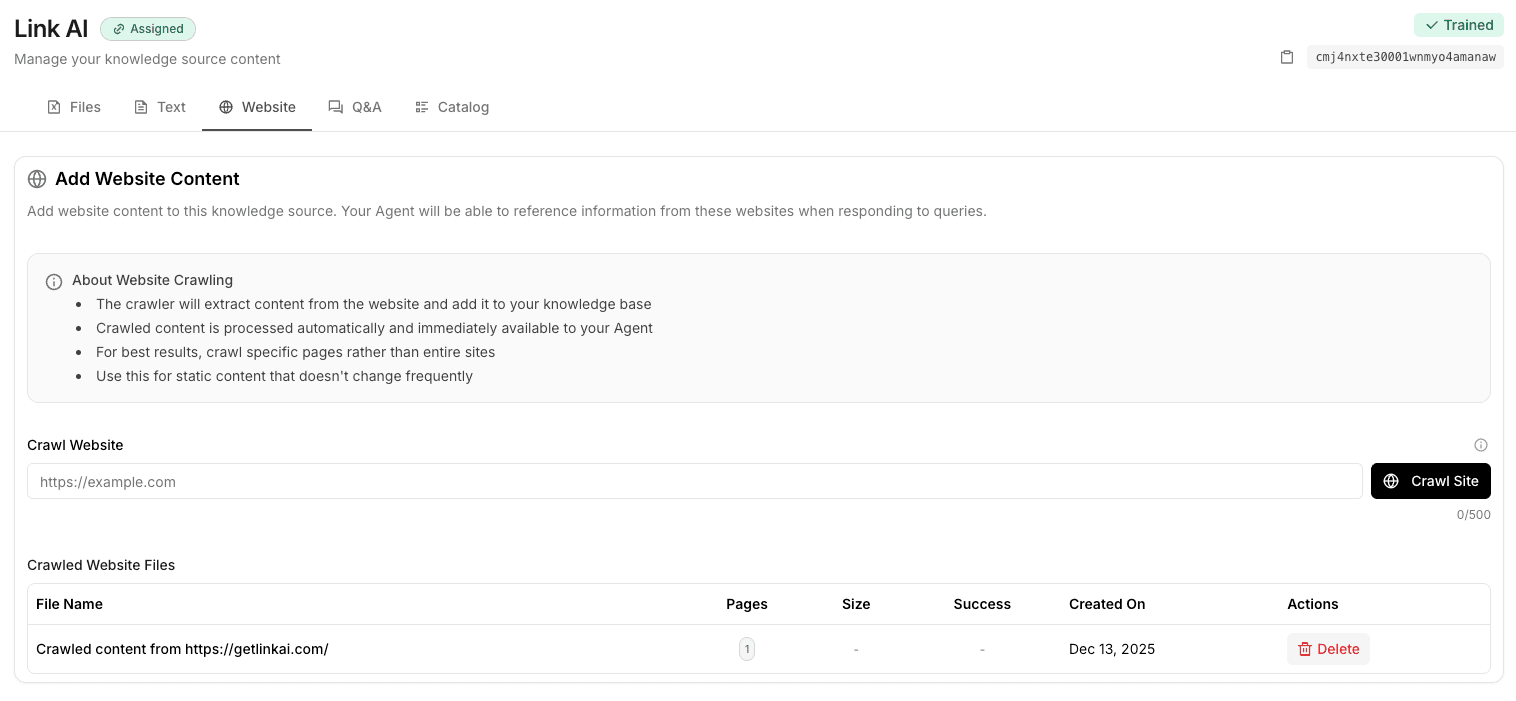
Step 3: Add Knowledge Base
Your agent needs information to answer questions accurately.
- Go to the Knowledge Base section
- Click "Add Knowledge Source"
- Choose your source type:
- Upload documents (PDF, DOCX, TXT)
- Add website URLs
- Import product catalogs
- Wait for processing to complete
Your agent will now use this information to answer customer questions.
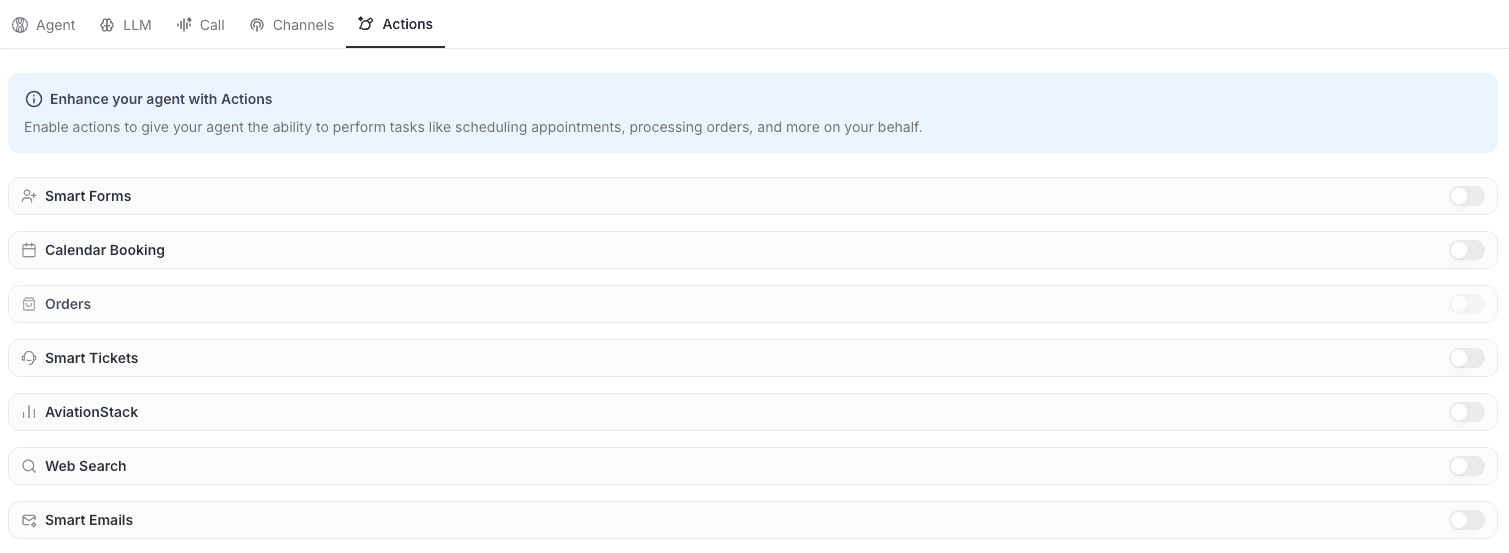
Step 4: Enable Actions
Decide which actions your agent should be able to perform:
- Smart Forms: Enable if you need to collect structured information
- Smart Tickets: Enable for support ticket creation
- Calendar: Enable for appointment scheduling
- Orders: Enable if you sell products
- Email: Enable for sending emails
Configure each enabled action with the necessary settings (notification emails, form instructions, etc.).
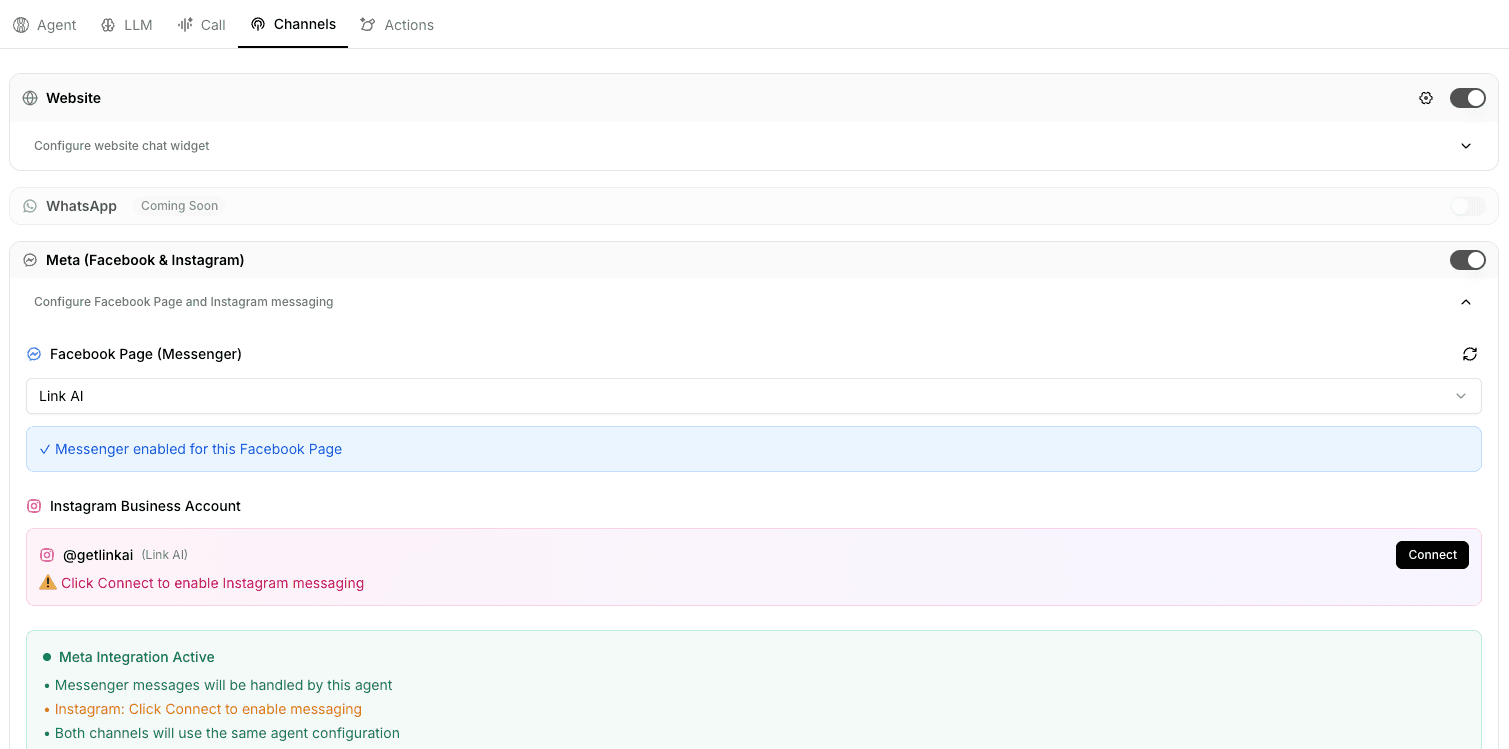
Step 5: Configure Channels
Choose where your agent will be available:
- Phone: Assign a dedicated phone number to your agent for voice interactions and call forwarding
- Web Chat: Enable for web chat widget
- Web Calls: Real-time voice calls directly through your website
- WhatsApp: Connect your WhatsApp Business account
- Messenger: Facebook Messenger integration
- Instagram: Direct messages on Instagram
- SMS: Text messaging support
Each channel may require additional configuration. Follow the setup instructions for each channel you enable.
Step 6: Select Your Agent Model
Choose an agent model that fits your needs. Link AI uses agent models—intelligent combinations of multiple LLM models optimized for specific use cases:
- Link Core Smart: Optimized for complex reasoning and accuracy. Best when quality is critical.
- Link Core Fast: Optimized for speed and efficiency. Ideal for high-volume conversations.
- Link Health Smart: HIPAA-compliant model for healthcare applications requiring accuracy.
- Link Health Fast: HIPAA-compliant model optimized for fast healthcare interactions.
Each agent model automatically uses the optimal mix of underlying LLM models based on the task. Consider your priorities: response quality, speed, or healthcare compliance.

Step 7: Test Your Agent
Before going live, test your agent:
- Use the chat interface in the dashboard
- Ask questions your customers might ask
- Test enabled actions (forms, calendar, etc.)
- Verify responses are accurate and helpful
Make adjustments to your prompt, knowledge base, or settings based on test results.
Step 8: Deploy
Once you're satisfied with your agent's performance:
- Change status from Draft to Live
- Copy the embed code for your website (if using web channel)
- Configure other channels as needed
- Monitor conversations and analytics
Best Practices
Start Simple Begin with a focused agent that handles one type of interaction well. You can always add more capabilities later.
Iterate Based on Data Review analytics to see what questions customers ask most. Add those answers to your knowledge base.
Test Across Channels If using multiple channels, test each one to ensure consistent behavior.
Monitor and Improve Regularly review conversations to identify areas for improvement. Update your knowledge base and prompts accordingly.
Next Steps
Learn Prompting Tips to optimize your agent's performance, or explore specific features like Knowledge Base and Actions.