Embed
Embed your Link AI chat widget directly on your website to provide instant customer support, lead generation, and automated conversations.
Embed your Link AI chat widget directly on your website to provide instant customer support, lead generation, and automated conversations. Choose between two widget styles and get up and running in minutes.
Security Notice: Link AI includes mandatory domain whitelisting to protect your business. You must configure allowed domains before your widget will load. This prevents unauthorized use, protects your usage limits, and secures your users' information. Jump to Security Configuration
Widget Styles
Link AI offers two widget styles to match your website's design:
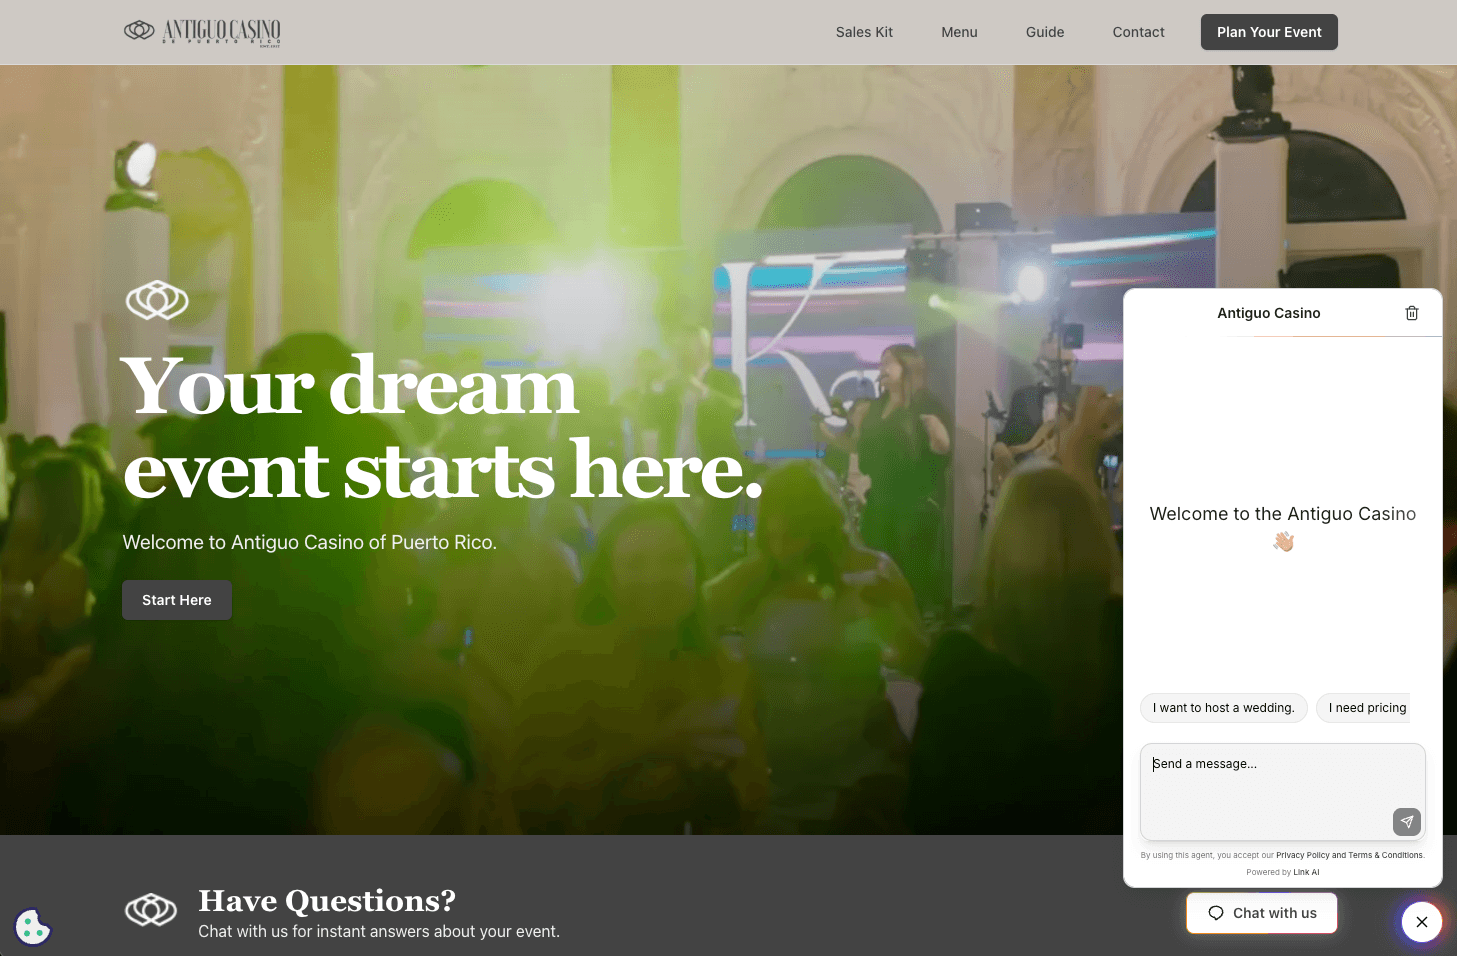
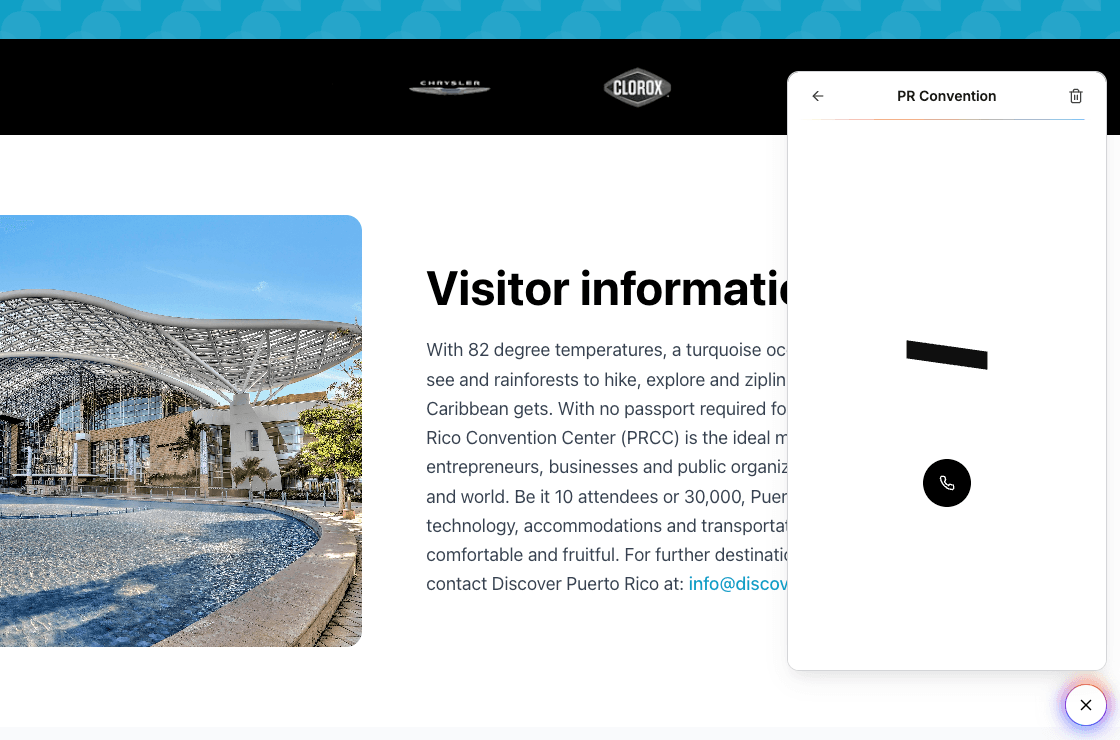
Standard Button Widget
A traditional chat button that expands into a full chat interface when clicked.
Features:
- Customizable chat button with agent avatar or animated orb
- Expandable drawer-style chat interface
- Glass, white, or black background styles
- Optional animated borders
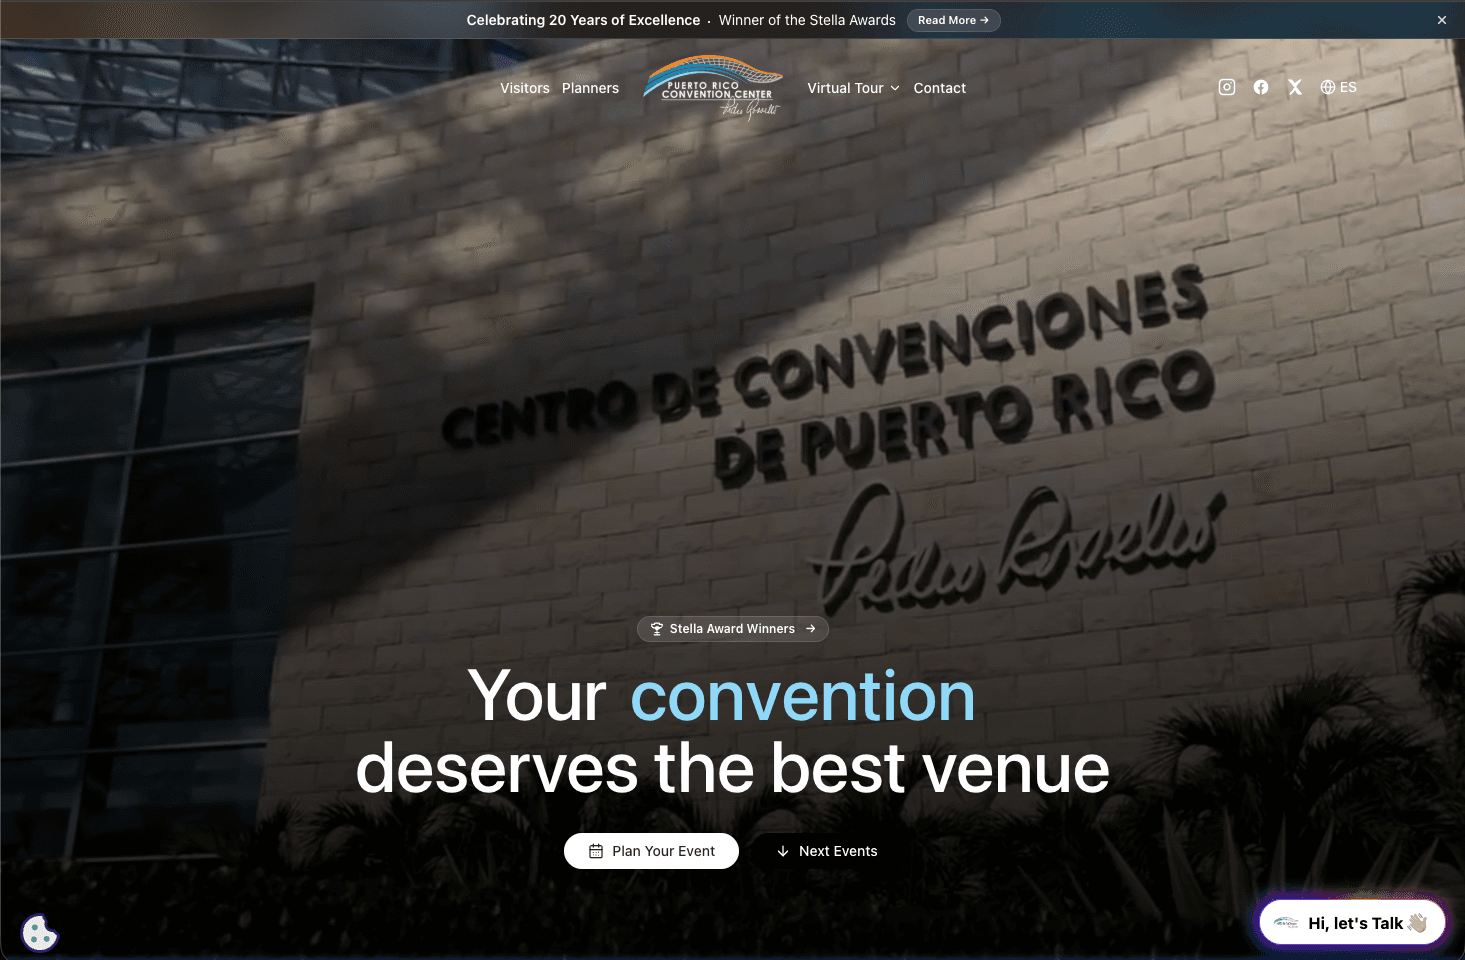
Floating Input Widget
A modern, minimalist floating input field that expands into a full chat interface.

Features:
- Sleek floating input field design
- Customizable accent colors
- Smooth expansion animations
- Voice input support (if enabled)
Quick Start
Step 1: Configure Your Widget
- Navigate to Dashboard > Agents > [Your Agent]
- Click the Channels tab
- Select Web Widget
- Click Configure Widget to customize appearance
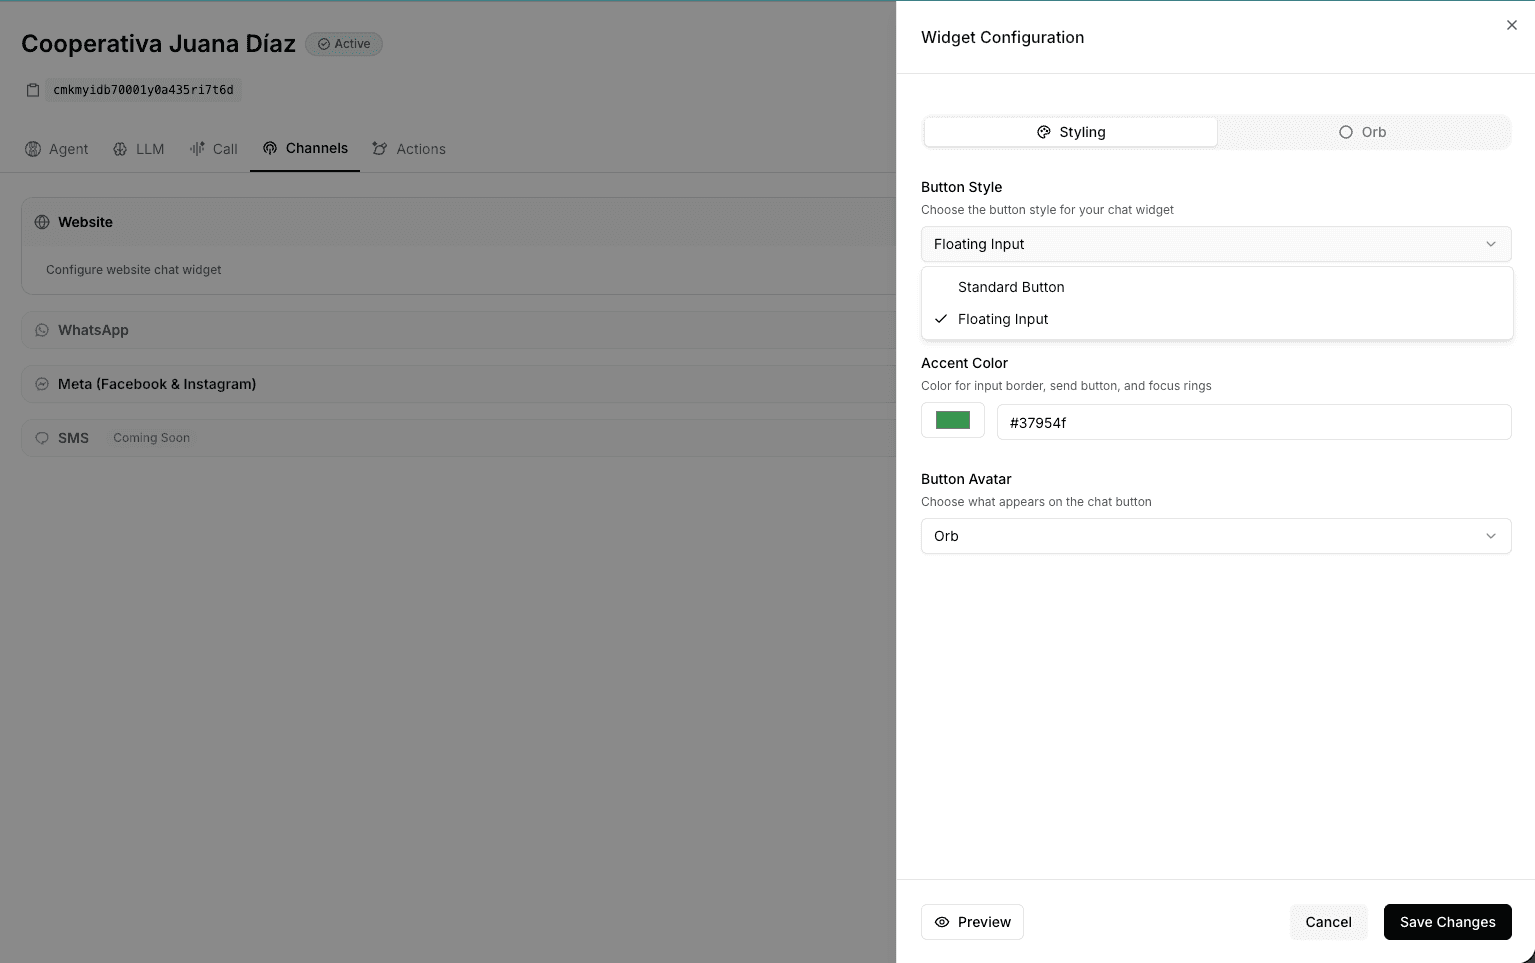
Step 2: Choose Your Style
Standard Button Options:
- Style: Glass, White, or Black backgrounds
- Chat Button Title: Welcome message (e.g., "Hi, let's chat!")
- Button Avatar: Agent avatar or animated orb
- Border: Simple or animated gradient borders
Floating Input Options:
- Accent Color: Customize border, send button, and focus ring colors
- Button Avatar: Agent avatar or animated orb
Orb Animations (Both Styles):
Choose from 5 animated orb styles: Glint, Orb, Command, Mana, or Halo. For Mana, Command, Glint, and Halo, you can select custom hex colors.
Step 3: Configure Domain Security
SECURITY REQUIRED: You must configure allowed domains before embedding your widget. This critical security measure prevents unauthorized use and protects your business and users' information from abuse.
Before embedding, add the domains where your widget will appear:
- In the Web Widget section, find Domain Security Settings
- Click Add Domain and enter your website domain (e.g.,
example.com) - For subdomains, use wildcard notation:
*.example.com - Add multiple domains if embedding on multiple sites
- Click Save to apply changes
Why This Matters:
Without proper domain configuration, malicious actors could:
- Copy your embed code and use it on unauthorized websites
- Abuse your agent's usage limits and rack up costs
- Access conversations and potentially sensitive business data
- Damage your brand reputation by deploying your agent inappropriately
Domain Configuration Examples:
example.com- Only allows the exact domain*.example.com- Allows all subdomains (e.g.,app.example.com,blog.example.com,shop.example.com)- Add both
example.comandwww.example.comif you use both
Important: The widget will only load on whitelisted domains. Any unauthorized domain will be blocked, and the widget will not appear.
Testing Locally:
For local development, add localhost:3000 or 127.0.0.1:3000 to your allowed domains.
Step 4: Copy Embed Code
Note: The embed code will only be available after you've configured at least one allowed domain in Step 3.
Once you've configured at least one allowed domain:
- Choose your preferred embedding method (see below)
- Click Copy Code
- Paste the code into your website
Embedding Methods
Method 1: Script Tag (Recommended)
The simplest way to embed your widget. Works on any website including WordPress, Shopify, Wix, Squarespace, and custom sites.
<script>
  window.chatbotConfig = {
    chatbotId: 'your-agent-id',
    apiUrl: 'https://dashboard.getlinkai.com'
  };

  (function() {
      var script = document.createElement('script');
      script.src = window.chatbotConfig.apiUrl + '/chatbot.js?v=' + Date.now();
      document.head.appendChild(script);
  })();
</script>
Where to place this code:
- WordPress: Use a custom HTML block or add to your theme's footer
- Shopify: Add to
theme.liquidbefore the closing</body>tag - Wix: Use the "Custom Code" feature in site settings
- Squarespace: Add to Footer Code Injection in site settings
- Custom Sites: Place before the closing
</body>tag
Method 2: NPM Package (React/Next.js)
For React or Next.js applications, use our NPM package:
npm install @linkai/widget
Then import and use the component:
import { LinkAIWidget } from '@linkai/widget';

function App() {
  return (
    <div>
      {/* Your app content */}
      <LinkAIWidget agentId="your-agent-id" />
    </div>
  );
}
Method 3: Direct Iframe Embed
For specific use cases where you need more control:
Button Embed
<iframe
  src="https://dashboard.getlinkai.com/embed/your-agent-id/button"
  style="position: fixed; bottom: 20px; right: 20px; border: none; width: 400px; height: 600px; z-index: 9999;"
  allow="microphone"
></iframe>
Window Embed (Full Chat Interface)
<iframe
  src="https://dashboard.getlinkai.com/embed/your-agent-id/window"
  style="border: none; width: 100%; height: 600px;"
  allow="microphone"
></iframe>
Platform-Specific Guides
WordPress
- Install a custom HTML plugin (e.g., "Insert Headers and Footers")
- Go to Settings > Insert Headers and Footers
- Paste the embed code in the Footer section
- Save changes
Alternative: Add to your theme's footer.php file before </body>
Shopify
- Go to Online Store > Themes
- Click Actions > Edit code
- Open
theme.liquid - Paste the embed code before the closing
</body>tag - Save changes
Wix
- Go to Settings > Custom Code
- Click + Add Custom Code
- Paste the embed code
- Set placement to Body - End
- Apply to all pages
- Save and publish
Squarespace
- Go to Settings > Advanced > Code Injection
- Paste the embed code in the Footer section
- Save changes
Webflow
- Go to Project Settings > Custom Code
- Paste the embed code in the Footer Code section
- Save and publish
Widget Features
Real-Time Chat
- Instant message delivery
- Typing indicators
- Conversation persistence
Voice Input
Voice mode allows customers to speak to your agent directly from the widget.
- Voice-to-text transcription (if enabled)
- Real-time audio processing
- Multi-language support
File Attachments
- Upload images and documents (if enabled)
- Drag-and-drop support
Mobile Optimization
- Responsive design
- Touch-friendly interface
- Optimized for all screen sizes
Theme Support
The widget automatically detects and synchronizes with your website's light/dark theme.
Programmatic Control
For advanced use cases, you can interact with the widget using JavaScript:
Opening the Widget
const widget = document.querySelector('linkai-widget');
if (widget && widget.openChat) {
  widget.openChat();
}
Closing the Widget
const widget = document.querySelector('linkai-widget');
if (widget && widget.closeChat) {
  widget.closeChat();
}
Listening to Events
window.addEventListener('linkai-widget-opened', () => {
  console.log('Widget opened');
});

window.addEventListener('linkai-widget-closed', () => {
  console.log('Widget closed');
});
Troubleshooting
Widget Not Appearing
Check Domain Configuration:
- Verify your domain is added to the allowed domains list
- Ensure the domain matches exactly (including
wwwif applicable) - Check browser console for error messages
Check Embed Code:
- Verify the
chatbotIdis correct - Ensure the script is placed before the closing
</body>tag - Check for JavaScript errors in the browser console
Clear Cache:
- Clear your browser cache
- Hard refresh the page (Ctrl+Shift+R or Cmd+Shift+R)
- Try in an incognito/private window
Domain Validation Error
If you see a "Domain validation failed" error, this means the domain security feature is working correctly by blocking unauthorized domains.
To Fix:
- Verify the domain is added to your allowed domains list in the dashboard
- Check the exact domain in your browser's address bar - it must match exactly
- If you're using
www, add bothexample.comandwww.example.com - For subdomains, use wildcard notation:
*.example.com - Wait a few minutes after adding domains for changes to propagate
- Clear your browser cache and hard refresh (Ctrl+Shift+R or Cmd+Shift+R)
Common Mistakes:
- Forgetting to include
wwwwhen your site uses it - Using
http://instead ofhttps://in the domain list (only add the domain name, not the protocol) - Typos in the domain name
- Using the widget on a subdomain without wildcard configuration
Voice Features Not Working
- Verify voice is enabled in your agent settings
- Check browser permissions for microphone access
- Ensure you're using HTTPS (voice requires secure context)
- Test in a supported browser (Chrome, Edge, Safari)
Next Steps
- Customize Your Agent - Train your agent with knowledge and tools
- Connect More Channels - Add SMS, voice, and social media channels
- View Analytics - Track conversations and performance
Need Help? Contact our support team at support@getlinkai.com or visit getlinkai.com