Workspaces
Organize your Link AI account into separate environments — each with its own agents, calendars, contacts, forms, billing, and team members.
Workspaces let you organize your Link AI account into separate environments — each with its own agents, calendars, contacts, forms, billing, and team members. Whether you're an agency managing multiple clients or a growing business with distinct departments, Workspaces give you clean separation without juggling multiple accounts.
Why Workspaces?
Before Workspaces, everything lived under a single account. That works fine for solo operators, but quickly breaks down when you're managing clients, collaborating with teammates, or running separate brands. Workspaces solve this by giving each project its own isolated environment.
For agencies: Keep every client's data, billing, and AI agents completely separate. Your team can access only the workspaces they need.
For teams: Give your marketing, sales, and support departments their own agents and configurations without stepping on each other.
For multi-brand businesses: Run distinct brands from one Link AI login, each with its own setup and billing.
Key Features
Isolated Environments
Each workspace is a fully independent environment. Agents, calendars, contacts, forms, phone numbers, knowledge sources, integrations, and usage are all scoped to the workspace they belong to. Nothing leaks between workspaces.
Per-Workspace Billing
Every workspace has its own subscription plan and billing cycle. This means you can have one workspace on the Starter plan and another on Growth — each tracked and billed independently. Usage limits are per-workspace, so one busy workspace won't eat into another's allocation.
Role-Based Access
Workspaces support four roles so you can control exactly who can do what:
| Role | What they can do |
|---|---|
| Owner | Full control — manage billing, members, settings, and delete the workspace |
| Admin | Create, edit, and delete resources. Manage team members. Cannot access billing. |
| Member | Create and edit their own resources. Cannot manage members or settings. |
| Viewer | Read-only access. Can view agents, calendars, and data but cannot make changes. |
Team Invitations
Invite teammates by email. They'll receive an invitation with your workspace name and their assigned role. Invitations expire after 7 days. If they already have a Link AI account, they'll also get an in-app notification.
Seamless Switching
Switch between workspaces instantly from the sidebar dropdown. Your last active workspace is remembered, so you always pick up where you left off. All data updates immediately when you switch — no page reloads, no waiting.
Getting Started
Your First Workspace
When you sign up for Link AI, a default workspace is automatically created for you. You're the Owner, and it comes with a 14-day free trial. Everything you create — agents, calendars, forms — lives inside this workspace.
Creating Additional Workspaces
- Click the workspace switcher in the sidebar
- Select Create Workspace
- Enter a name (up to 25 characters)
- Your new workspace is ready — you'll be switched to it automatically
Each new workspace starts with its own 14-day free trial.
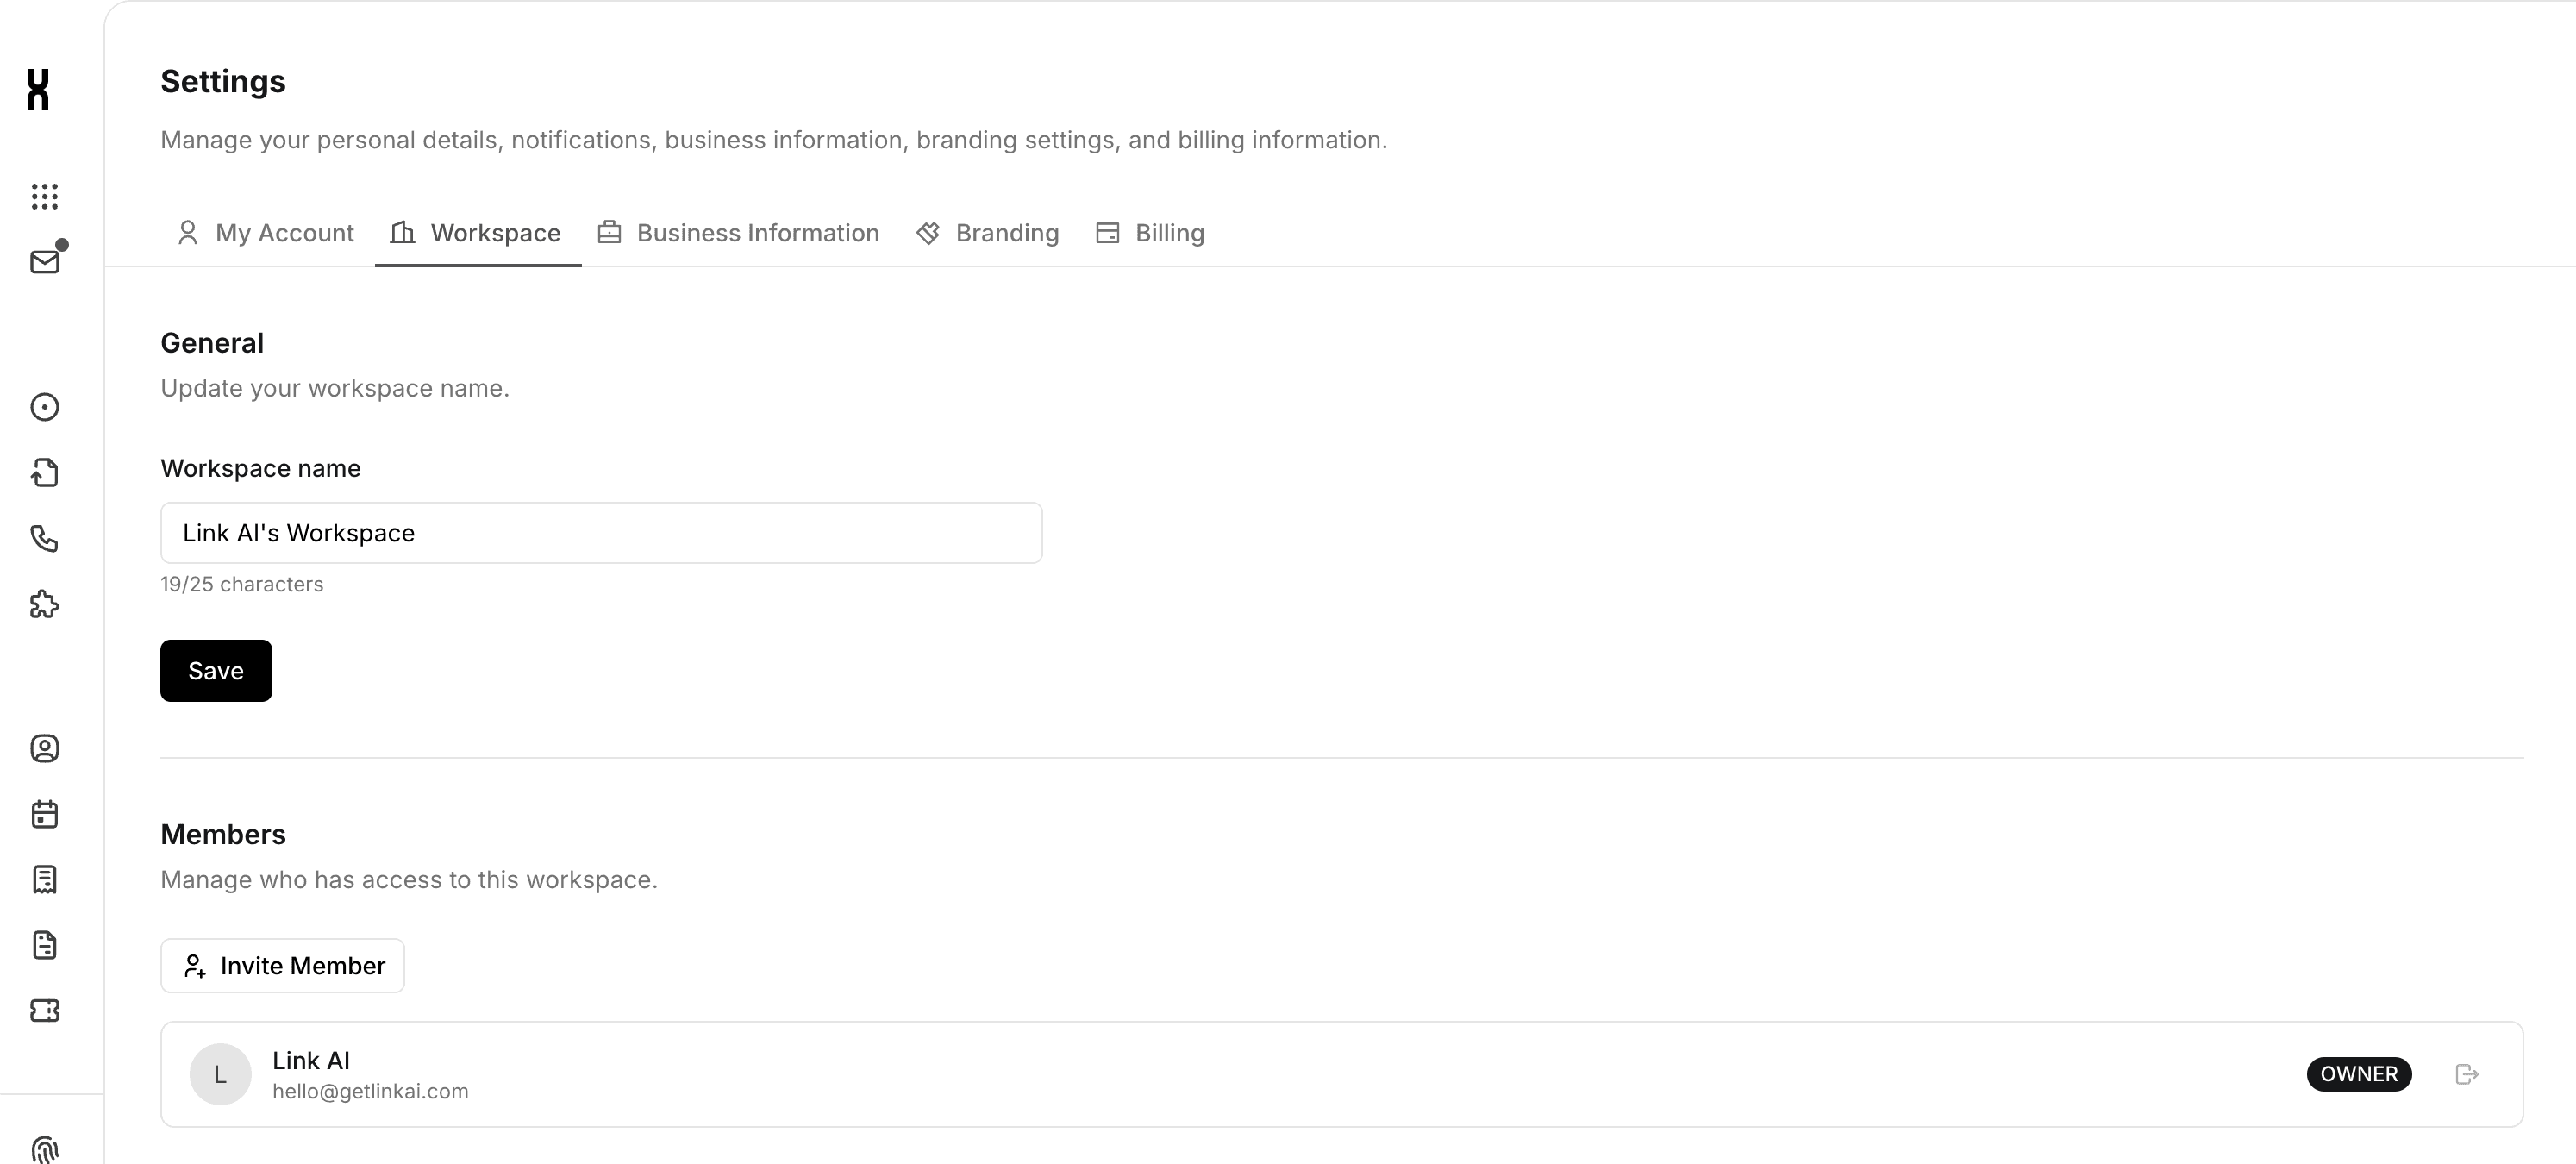
Inviting Team Members
- Go to Settings and open the Workspace tab
- Click Invite Member
- Enter their email address and select a role (Admin, Member, or Viewer)
- They'll receive an email invitation with a link to join
Once they accept, they'll appear in your members list and can switch to your workspace from their own account.
Managing Members
From the Workspace settings tab, Owners can:
- Change roles — Promote or demote members as needed
- Remove members — Revoke access instantly
- Transfer ownership — Hand off the Owner role to another member
Admins can remove Members and Viewers but cannot change roles or transfer ownership.
How Data Separation Works
Every piece of data in Link AI is tied to a workspace. When you switch workspaces, you see only that workspace's data. Here's what's scoped per workspace:
- AI Agents and their conversations
- Calendars, appointments, and bookings
- Forms and submissions
- Contacts and conversation history
- Knowledge sources and files
- Phone numbers and voice configurations
- Support tickets
- Integrations (Stripe, Meta, monday.com, Slack, and more)
- Usage records and analytics
- Notifications
Child data inherits its parent's workspace. For example, messages belong to the agent's workspace, and form submissions belong to the form's workspace.
Workspace Billing
Each workspace manages its own subscription independently:
- Plan selection — Choose the right plan for each workspace's needs
- Usage tracking — Message counts, agent usage, and API calls are tracked per workspace
- Independent cycles — Billing periods are separate, so upgrading one workspace doesn't affect others
- Trial periods — Each new workspace gets its own 14-day free trial
All members within a workspace share that workspace's plan limits. Usage from every member counts toward the workspace's allocation.
Managing Billing
- Switch to the workspace you want to manage
- Go to Settings → Billing tab
- Add or update payment methods, change plans, or view invoices
Rules & Constraints
- You must always belong to at least one workspace
- Owners cannot leave their workspace — transfer ownership first
- Workspaces can only be deleted by the Owner, and only if you have at least two workspaces
- Invitation links expire after 7 days
- Each user can only have one membership per workspace
- Workspace names are limited to 25 characters
Common Use Cases
Agency with Multiple Clients
Create a workspace for each client. Assign your team members the appropriate roles per client workspace. Each client gets separate billing, separate agents, and separate data. Your clients never see each other's information.
Business with Departments
Set up workspaces for Sales, Support, and Marketing. Each department manages their own AI agents and workflows. Department leads get Admin access, team members get Member access.
Freelancer with Side Projects
Keep your client work in one workspace and personal projects in another. Switch between them in seconds from the sidebar.
Frequently Asked Questions
Can I move an agent from one workspace to another?
Not currently. Agents are tied to their workspace. You'd need to recreate the agent in the new workspace.
What happens when I delete a workspace?
All data inside the workspace is permanently deleted — agents, calendars, contacts, forms, everything. This cannot be undone.
Can someone be in multiple workspaces?
Yes. Users can belong to as many workspaces as they need, each with a different role.
Is there a limit on how many workspaces I can create?
There's no hard limit on workspace creation. Each workspace needs its own subscription plan.
What plan does a new workspace start with?
Every new workspace starts with a 14-day free trial. After the trial, you'll need to select a plan to continue using it.
What happens when my trial ends?
You'll see reminders before the trial ends. To continue using the workspace, the Owner must add a payment method and select a plan in Settings → Billing.
What happens to my data if I leave a workspace?
Your access is removed, but the workspace and its data remain. Data is not deleted when you leave.
Can I use the same payment method for multiple workspaces?
Yes. You can add the same card to different workspaces. Each workspace has its own subscription, but you can use the same payment method for convenience.